Autumn, jeans season #2: jeans playmat DIY

OK, I cheated... it was meant to be jeans month, but it's going to be jeans season, just because I am sooooooo slow...!
So here is our second installment in jeans season then, the playmat DIY.
You need :
* An 18x18 cm piece of card, to use as a template
* 3-4 pairs of old jeans (even better if they are different colours)
* A few scraps of other fabrics (to make it more interesting to touch, choose fabrics which have different textures)
* A piece of thick/upholstery fabric cut to the size of your intended mat, for the back
* A piece of thick wadding cut to the size of your intended mat
* Thread, needle, pins, sewing machine
Hw to proceed :
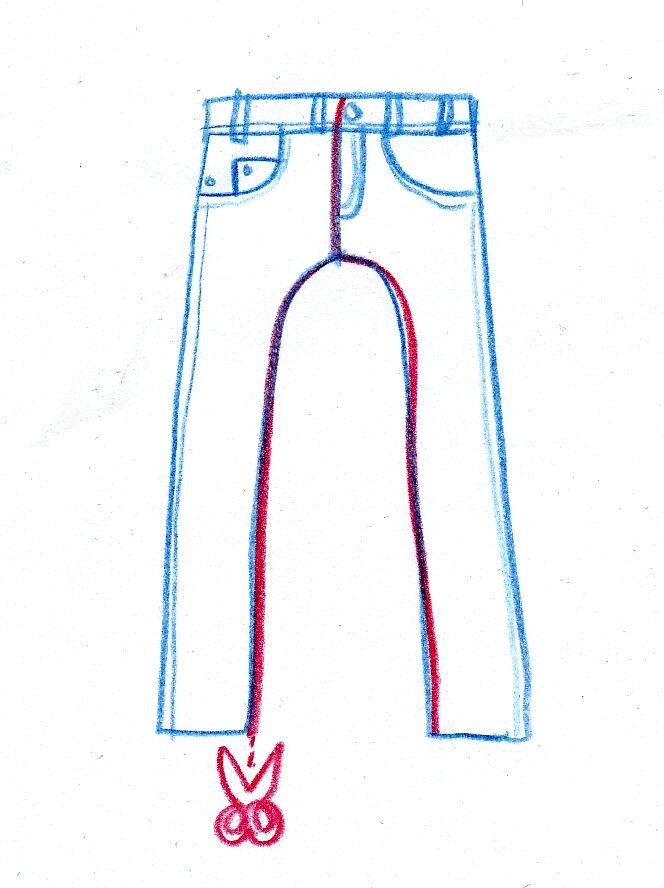
Start by opening up the jeans by cutting them along the seams shown on the illustration below, then cut out some square patches using the card template. The squares are 18x18 and include a 1 cm (3/8") seam allowance. Once the squares are sewn together, they should therefore measure 16x16 cm. The number of squares required will vary according to the dimensions you intend to give your mat (mine is 144x96 cm so I needed 54 squares to make up 9 rows of 6). You can also use some squares cut out in the other fabrics to add a bit of variety in colour and texture.
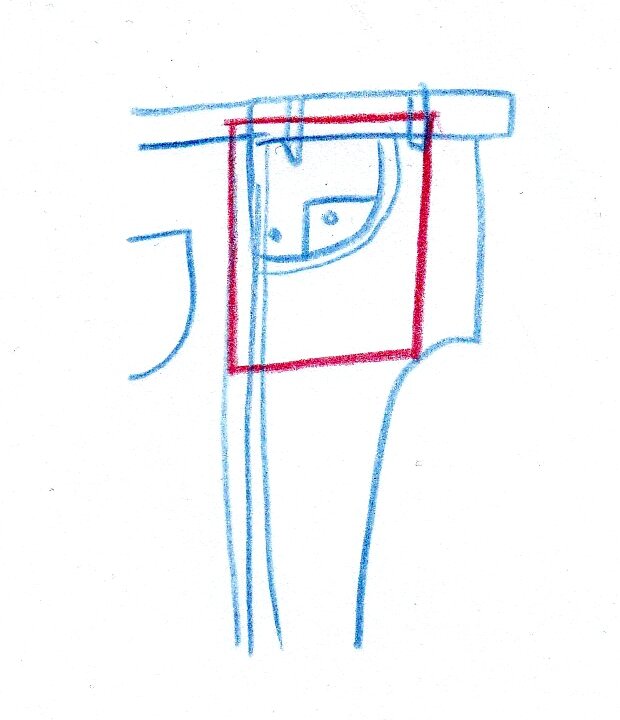
If you want to include pockets, do take care to cut them out AROUND the existing stitching (even if this gives you a bigger square, this will be rectified whilst assembling) so as to stop them from falling apart.

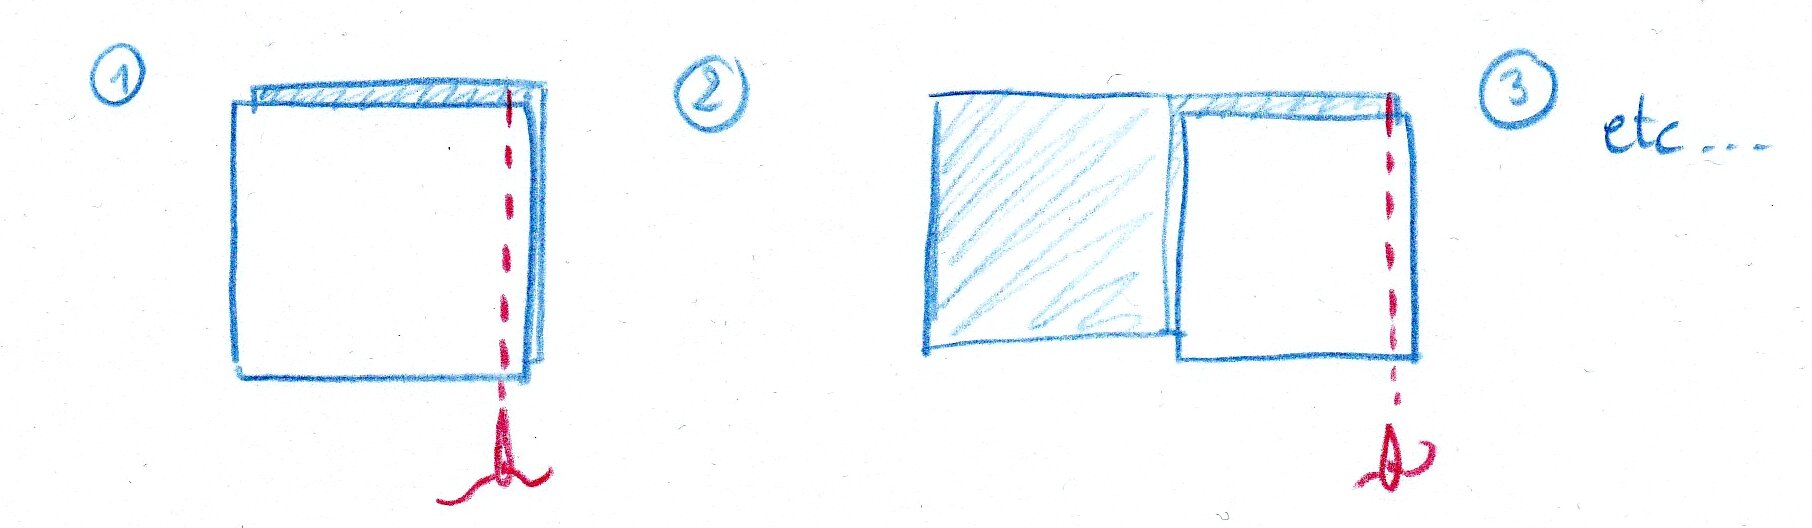
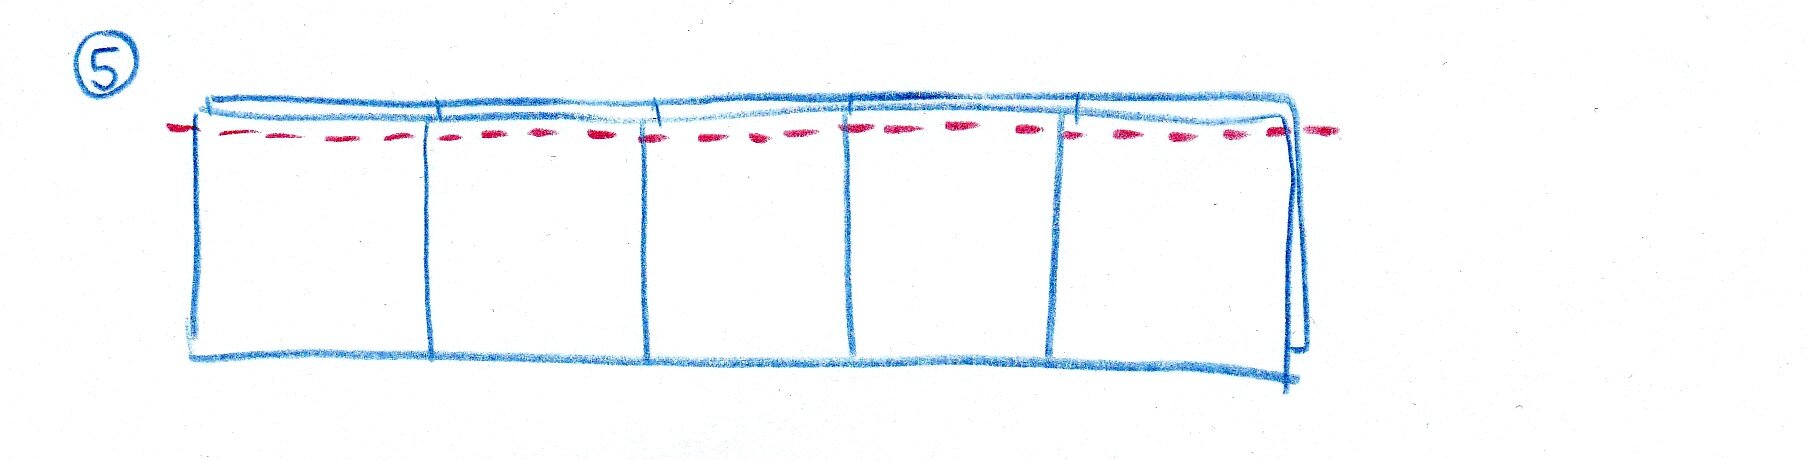
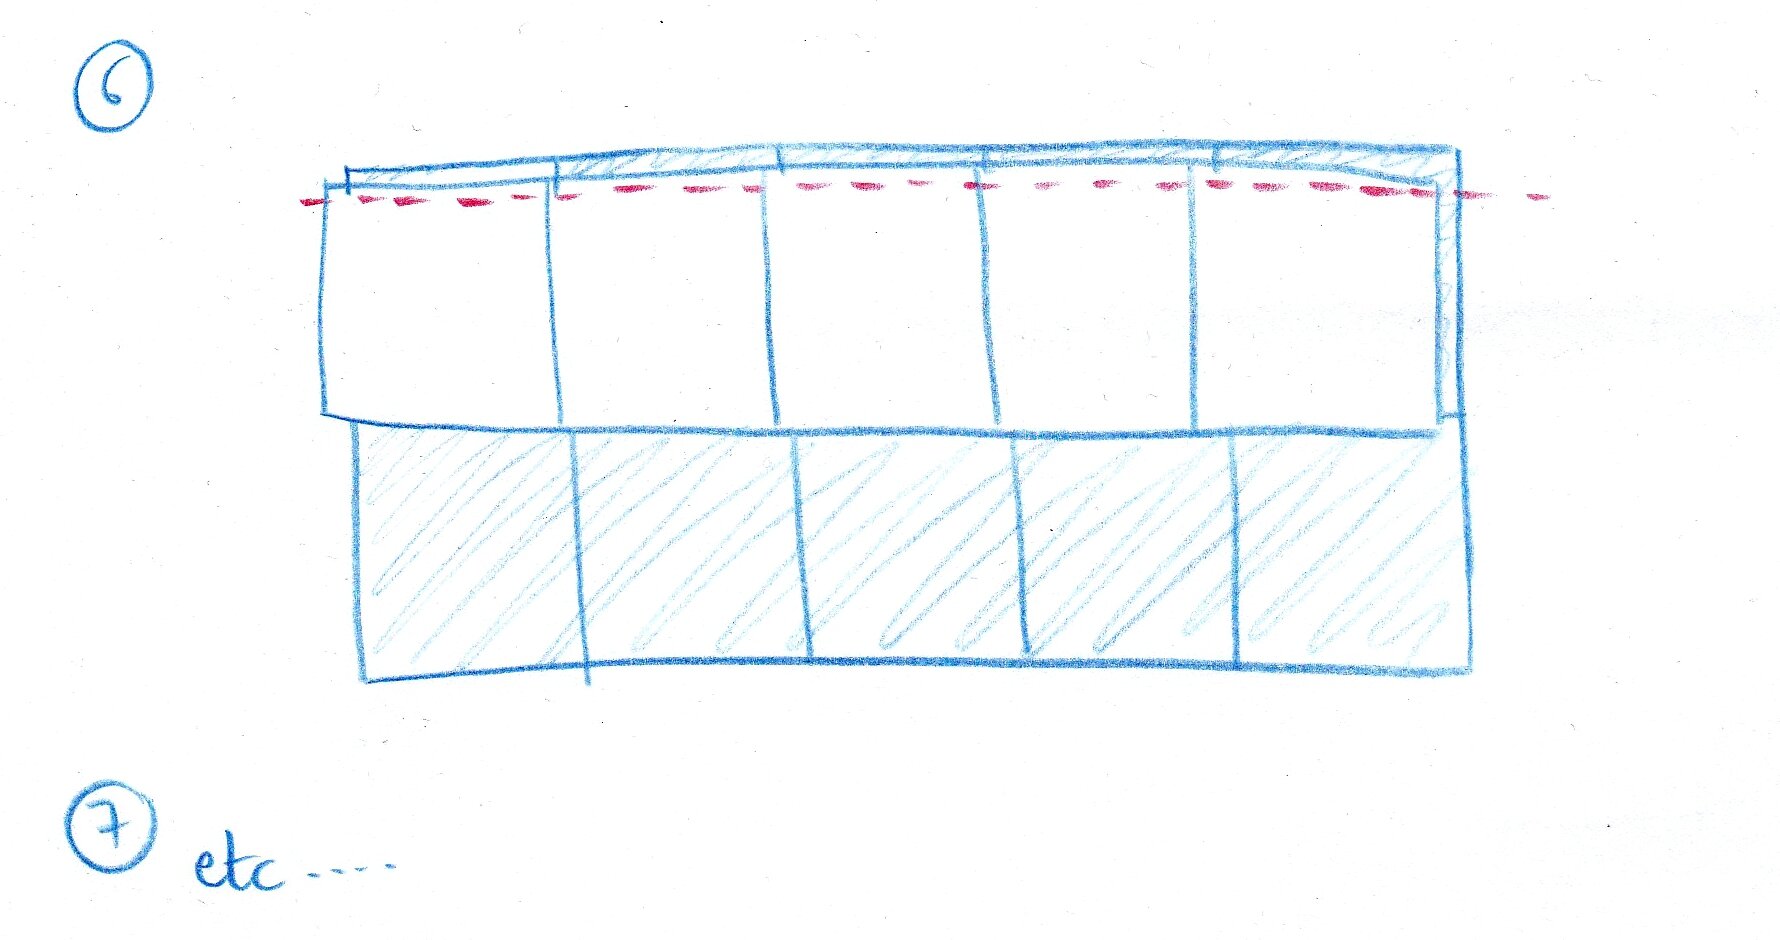
Position the squares on the floor next to each other to find a pattern that works for you. I find it looks more interesting if you alternate the weave of the jeans fabric (one horizontal, one vertical, see illustration below) and add in other fabrics randomly for a mosaic effect.


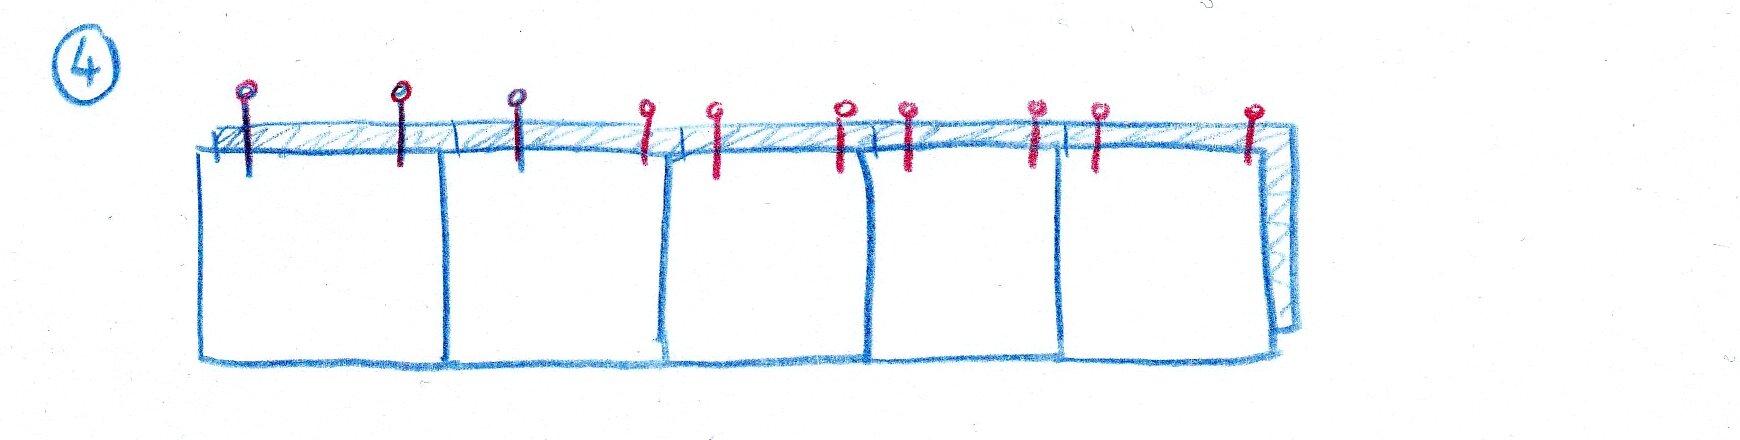
Assemble the squares into strips of the required length by placing them right sides together and sewing them on one side using a jeans needle on your machine and some good quality thread (I am rather partial to Gütterman "sew all") with a 3/8" seam allowance. Then join the strips together using the same technique.
If you use stretchy fabric like Minkee, it is probably better to baste these squares into place or to use fusible facing to avoid the patches stretching and ruining your straight lines (see dodgy seams in previous post!).
If you are using jeans pockets, now is the time to align them properly and to make the excess fabric and unwanted stitching disappear into the seam allowance.
Once the patchwork front is done, all that is left to do is to assemble it to the backing fabric and to the wadding. Place the large piece of backing fabric on the floor, right side up, then the patchwork jeans, wrong side up, and then the wadding (see picture if this makes no sense at all, I struggle to even understand myself sometimes!!) and pin into place. Sew all layers together with a 3/8" seam allowance, leaving a 10" opening to allow for turning out.

Once all is stitched, recut the seam allowances and round the angles, then turn right side out. Finish your mat by closing the side opening with an invisible stitch.

There you are !
Please send me any comments or questions you may have, and I would love to see your mats!
See you soon my little monkeys !
See you soon my little monkeys !
***

Comments
Post a Comment